If you enjoyed this book considering buying a copy
- Buy a copy of the book on Lean Pub
- Buy a copy of the book on Kindle
- Buy a hard copy of the book on Amazon
- Buy the bundle Master Python on Lean Pub
Chapter 1: Configuring the environment #
Noah Gift
Creating a local development environment that is simple, repeatable, and powerful is an essential first step to developing a testable software project. This technique is also a skill that translates to any future software development project.
Setting up and using Git #
Source control is a mandatory part of any professional software project. There are many types of version control available including subversion, mercurial and git. The most popular of these is git.
Git can be standalone, or as part of a hosted solution. Two popular solutions for hosting git projects include: Github and Gitlab.
Setup and use Github #
To set up and use Github, you need a Github account and internet access. The minimal steps to start are:
- Create a repository, for example,
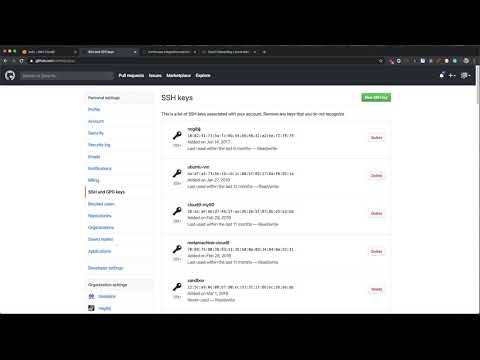
hello. - Add an SSH key to your Github account.
- Clone the repository locally, for example:
git clone git@github.com:paiml/hello.git
- Create a change and push it. This process would be an example of a good first change (inside the cloned repo).
echo "# hello" >> README.md
git add README.md
git commit -m "adding name of repo to README"
git push
Setting up and using Virtualenv #
Surprise, the Python standard library includes a module called venv. A virtual environment solves a significant problem in Python. It isolates the Python interpreter to a specific directory. In this example, a virtual environment works in a user’s home directory.
python3 -m venv ~/.hello
To use this “virtual environment,” it needs to be activated.
source ~/.hello/bin/activate
Using a repeatable convention to create virtual environments #
Conventions are a powerful way to simplify complex software engineering tasks in a series of easy to remember steps. A convention-based workflow with virtual environments can also dramatically simplify using them. Here is a simple convention to use:
- Create a virtual environment with a
~/.[reponame] format
This process removes the decision about where to put the virtual environment and what to name it. If your git repository is called hello, then you would run the following command:
python3 -m venv ~/.hello
Note that the . makes the virtual environment invisible. This process will prevent your home directory overflowing with virtual environments when you open it in a GUI or list the contents with ls -l.
- Create an alias in your Bash or ZSH environment.
With ZSH, the config file to edit would be ~/.zshrc in Bash, it would be ~/.bashrc. Inside of this config file add the following:
## Hello repo
alias hello="cd ~/hello && source ~/.hello/bin/activate"
The next time you open your default shell, this alias will be available. Here is an example of what this workflow looks like on my ZSH environment, which uses a package called oh-my-zsh.
➜ hello
(.hello) ➜  hello git:(master)
(.hello) ➜  hello git:(master) which python
/Users/noahgift/.hello/bin/python
This convention-based workflow, if followed, makes a tedious and error-prone process easy to remember.
Installing packages and dependencies #
There are several strategies available to install packages and dependencies. These are pip, conda and docker format containers. The most common is pip. Let’s focus on that.
There is a convention to use with pip that will make you more productive.
- Always use
pipinside a virtual environment or a container.
Let’s walk through a few scenarios:
-
Scenario A: If you are using Google Colab notebooks, doing a pip install is fine since it is running in a container behind the scenes. Additionally, this is a managed environment designed for Python development, and the libraries are up to date for you. This notebook is a unique but useful environment. You could install it as follows:
!pip install pandas. The!allows shell commands to run in a Jupyter notebook. -
Scenario B: If you provision an AWS Cloud9 development environment, this first thing you should do is create a virtual environment before you begin work. The native Amazon Linux or Ubuntu operating system needs to be isolated from what you want to do for a particular development task.
-
Scenario C: If you are developing a new project on your laptop, say an OS X laptop, you should use a virtual environment. This process will isolate your project from whatever installation occurs on the system.
-
In a new project, use a
requirements.txtfile. If the project deploys somewhere, it is a best practice tofreezethe currently installed versions:pip freeze > requirements.txtand then install usingpip install -r requirements.txt. -
Run
make installwithpip. This snippet is an example ofMakefile.
install:
    pip install --upgrade pip &&\
        pip install -r requirements.txt
If this convention follows on all projects, it dramatically reduces the chance something will go wrong in installing software with pip. Additionally, there is little to remember to install software; a user runs make install.
Setup Visual Code code #
Having a reliable source code editor can dramatically improve the efficiency of software development. The Visual Studio Code is one of the most popular editors for Python projects for a reason, it works! These are the steps to installing and using the Visual Studio Code toolkit.
- Download the version for your platform.
Visual Studio Code has a version that works for Windows, Linux (Debian, Ubuntu, Red Hat, Fedora, and SUSE) and OS X. This is a significant advantage off the bat. You can use the same editor for any operating system.
- Install the Visual Studio Code Python extension.
- Install the correct Python interpreter for your operating system. This interpreter should be higher than Python 3.7 or later.
- If you are on Windows, you can install from the official Python Windows page.
- If you are on OS X, you should do a
brew install python3. You should NOT use the install Python that comes with OS X. You will need to install Homebrew if you haven’t installed it. Note you can also upgrade the version of Python by usingbrew upgrade python.
(.tip) > brew upgrade python
==> Upgrading 1 outdated package:
python 3.7.5 -> 3.7.6_1
==> Upgrading python
Warning: Building python from source:
  The bottle needs the Apple Command Line Tools to be installed.
  You can install them, if desired, with:
    xcode-select --install
- If you are on Linux, you may want to upgrade to a specific version of Python using the native package management system. If
pipneeds to install, you can install it withget-pip.py.
- Use the virtual environment setup instructions described early in the chapter to
activatea virtual environment. Next, launch visual studio code inside the activated environment:code .. This step will start Visual Studio code within your virtual environment. Note, it is essential to double-check that Visual Studio Code has the correct interpreter. It toggles as shown.

Also, note that this same interpreter can be selected to test the code as shown.
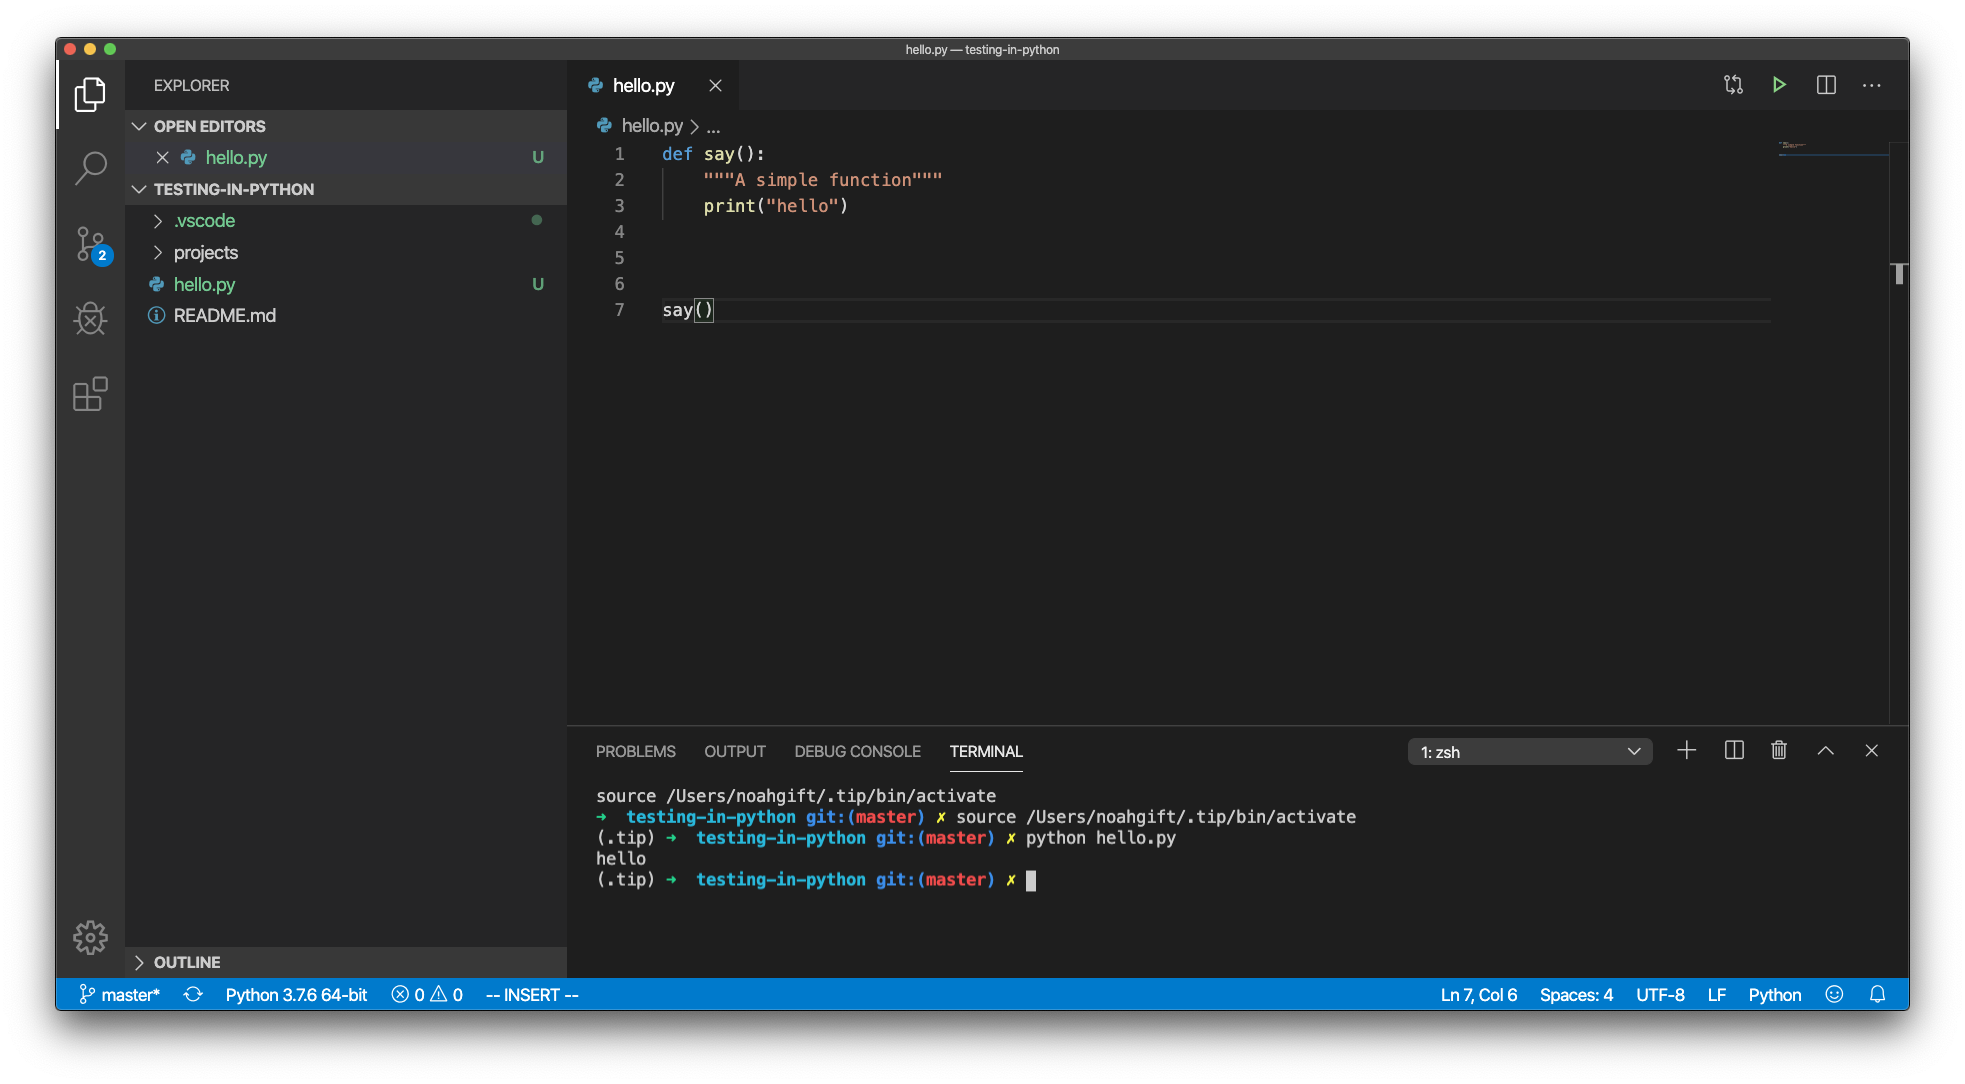
Here is the example code for you to test on your own. Paste parts of the code to see how linting, syntax highlighting, and auto-completion works.
 def say():
    """A simple function"""
    print("hello")

say()
Setup and use Vim #
A kitchen has many types of knives. There is a steak knife to cut food like a steak while eating. There is a Chef’s Knife that may be very high quality, large and expensive. Its use is for tasks the require power, like chopping an onion. A paring knife solves problems of precision. One example use case of a paring knife is to peel a tomato.
Likewise, vim, the editor serves a particular purpose. It is an editor that is ubiquitous, and it makes many tasks simple to solve. Every developer needs a little vim in their software kitchen.
Install Vim #
The vim program preinstalls on many machines. If vim is not available, you refer to the download instructions from the official vim website.
Use Vim #
Mastering vim can take years, but there is a minimalistic approach to be effective immediately. This process is a convention to follow:
- Create a file:
touch somefile.py - Edit the file in vim:
vim somefile.py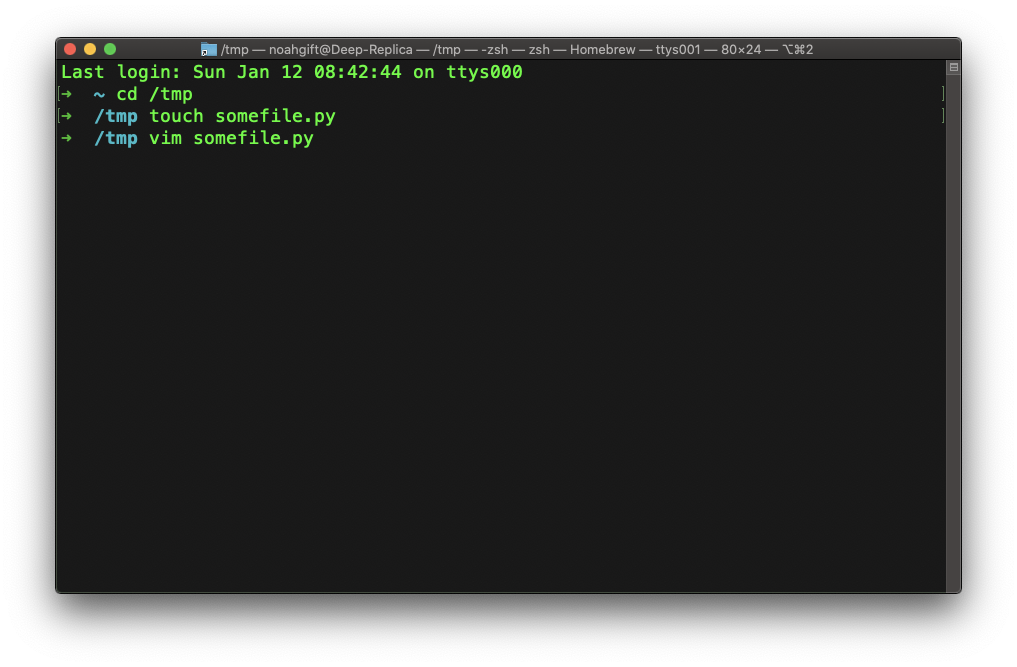
- Switch to “insert mode” by pressing the key
i. You will start in ‘normal’ mode.
- Edit the file.
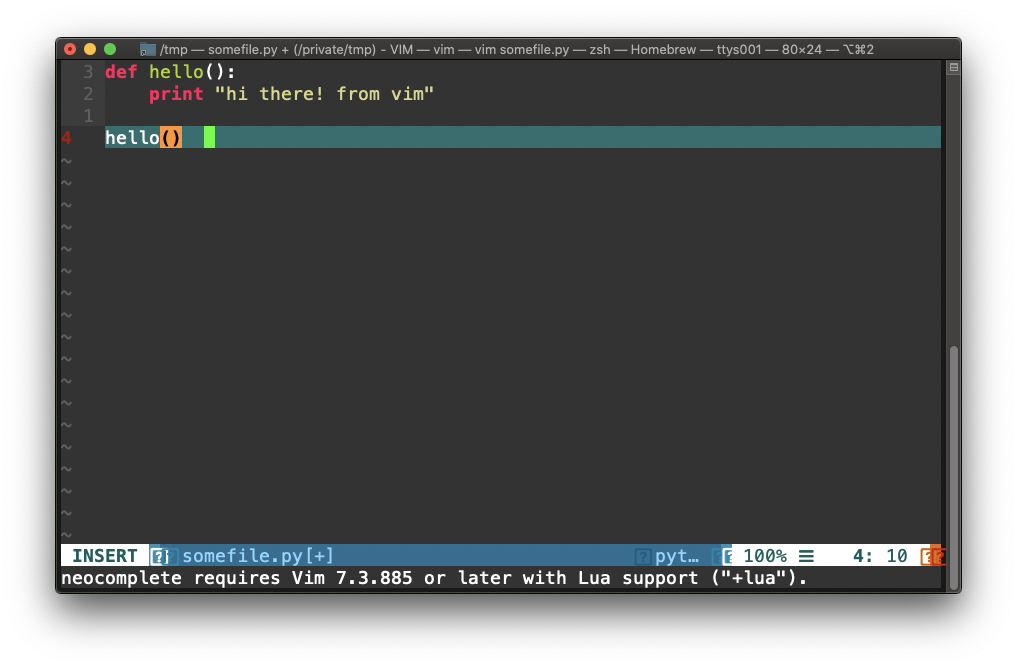
- Save the file by pressing Escape key and typing:
:wq.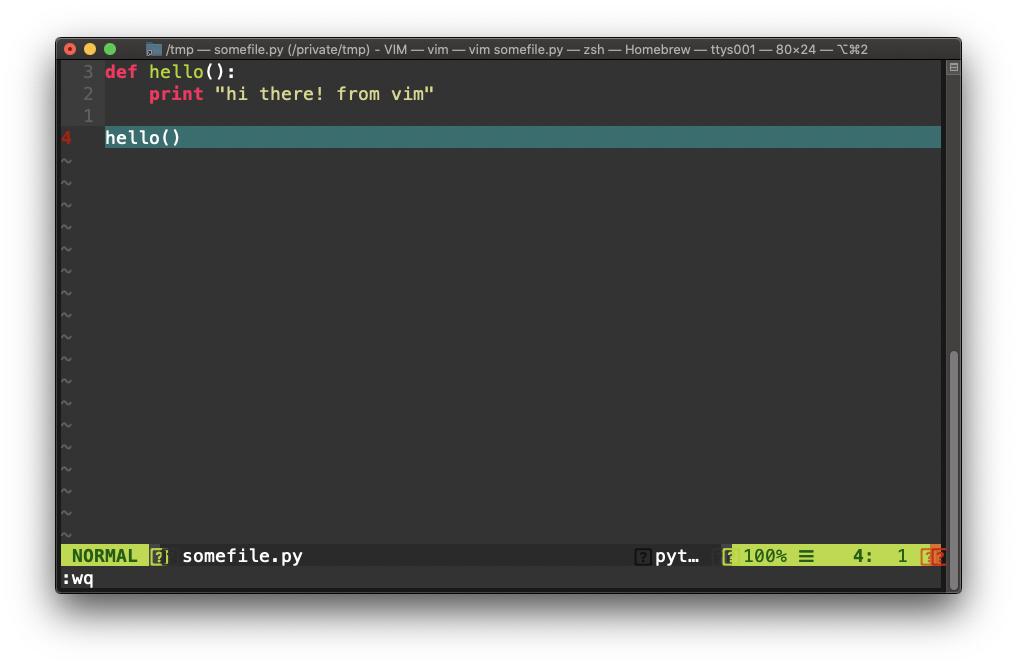
- Run the file.
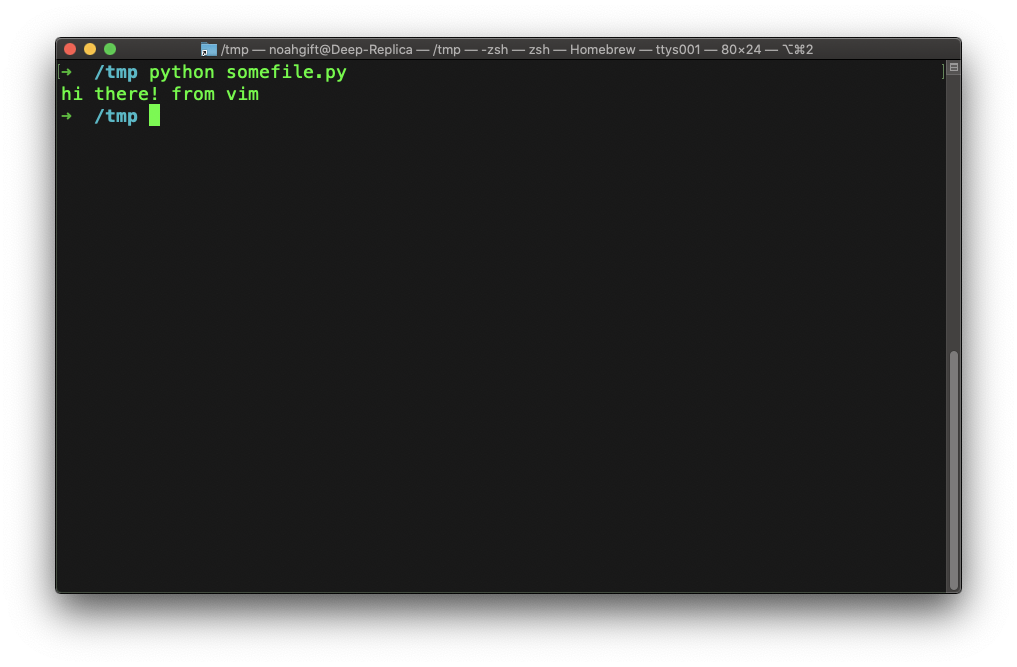
If you get yourself in a mode that seems to be confusing, often the best way out is to press the Escape key. This step is the best way to solidify this knowledge; to do this workflow many times on many different types of machines. It will cement the learning.
Later feel free to get more advanced and learn new vim tricks, but first master the basics, and this will add an entirely new capability that will open up many workflows.
Setup Makefile #
Just like vim, mastering Makefiles can take years, but a minimalistic approach provides immediate benefits. The main advantage of a Makefile is the ability to enforce a convention. If every time you work a project, you follow a few simple steps, it reduces the possibility of errors in building and testing a project.
A typical Python project improves by adding a Makefile with the following steps: make setup, make install, make test, make lint and make all.
setup:
    python3 -m venv ~/.myrepo

install:
    pip install --upgrade pip &&\
        pip install -r requirements.txt

test:
    python -m pytest -vv --cov=myrepolib tests/*.py
    python -m pytest --nbval notebook.ipynb


lint:
    pylint --disable=R,C myrepolib cli web

all: install lint test
This example is from a tutorial repository called myrepo. There is also an article about how to use it from CircleCI.
The general idea is that a convention eliminates the need to think about what to do. For every project, there is a common way to install software, a common way to test software, and a common way to test and lint software. Just like vim, a Makefile build system is often already on a Unix or Linux system. Even Microsoft uses the Linux operating system in Azure, and the result is that Linux is the preferred deployment target for most software.
Extending a Makefile for use with Docker Containers #
Beyond the simple Makefile, it is also useful to extend it to do other things. An example of this is as follows:
setup:
    python3 -m venv ~/.container-revolution-devops

install:
    pip install --upgrade pip &&\
        pip install -r requirements.txt

test:
    #python -m pytest -vv --cov=myrepolib tests/*.py
    #python -m pytest --nbval notebook.ipynb

validate-circleci:
    # See https://circleci.com/docs/2.0/local-cli/#processing-a-config
    circleci config process .circleci/config.yml

run-circleci-local:
    # See https://circleci.com/docs/2.0/local-cli/#running-a-job
    circleci local execute

lint:
    hadolint demos/flask-sklearn/Dockerfile
    pylint --disable=R,C,W1203,W1202 demos/**/**.py

all: install lint test
A Dockerfile linter is called hadolint checks for bugs in a Dockerfile. A local version of the CircleCI build system allows for testing in the same environment as the SaaS offering. The minimalism is still present: make install, make lint and make test, but the lint step is complete and authoritative with the inclusion of Dockerfile as well as Python linting.
Notes about installing hadolint and circleci: If you are on OS X you can brew install hadolint if you are on another platform follow the instructions from hadolint/ To install the local version of circleci on OS X or Linux you can run curl -fLSs https://circle.ci/cli | bash or follow the official instructions for local version of the CircleCI build system
Setup and Use ZSH/Bash #
The shell environment of Bash or ZSH is a given for working with Python. As discussed previously, most deployment targets are now Linux. With the widespread adoption of containers, even Windows is now a Linux target. What is the format for authoring Dockerfiles? The format is largely Bash Commands. Additionally, Bash and ZSH are largely compatible with a few small differences.
Use oh-my-zsh #
Let’s focus mainly on ZSH through the use of an open-source framework for ZSH called Oh My Zsh. The way to install it via the following command:
sh -c "$(curl -fsSL https://raw.github.com/ohmyzsh/ohmyzsh/master/tools/install.sh)"
After installation, you will get many convenient features: automatic cd (you don’t need to type anymore), enhanced shell completion, and environment context recognition. Notice the zsh prompt I am using the write the book.
(.tip) > testing-in-python-book git:(chapter1) ✗
The oh-my-zsh plugins allow for automatic recognition of the Python Virtual Environment as well as the fact that I am in a git repository and what branch I have.
Using Cloud-based development environments #
Just as many environments are Linux, it is also true that most deployment environments are in the cloud. Three of the largest cloud providers are: AWS, Azure and GCP. To write software that deploys on Cloud Computing environments, it often makes more sense to write, test, and build code in cloud-specific development environments. Let’s discuss two of these environments.
AWS Cloud9 #
The AWS Cloud9 Environment is an IDE that allows a user to write, run, and debug code (including serverless code in Python) in the AWS cloud. This step simplifies many workflows, including security and network bandwidth. You can watch a walkthrough video here that creates a new AWS Cloud9 environment.
GCP Cloud Shell #
The GCP Cloud Shell environment allows a user to develop software directly inside of the GCP ecosystem. This step is completely free and provides for many simplifications of cloud-based development tasks.